Anno-REP in a Nutshell
Anno-REP – A tool to Restructure, Edit, and Publish Annotations – is a web-based tool that gives you control of your ATI annotations. When you upload a document that you have already annotated, such as a Word document with comments or a PDF with annotations, the Anno-REP tool lets you connect that document to a new or existing data project on the Qualitative Data Repository (QDR). Anno-REP also extracts uploaded annotations into web annotations using Hypothes.is. You can then use the tool to add, delete, or edit these web annotations. You can also add links to files stored in QDR. Once your annotations are finished, you can submit the project to QDR for review and publication in QDR’s official ATI channel. You can also copy your annotations to a version of your manuscript anywhere on the web.
Please note that these instructions are only for the Anno-REP tool. For more information on ATI and the content of annotations, please see the ATI Instructions and associated pages.
A video showing all steps below is available on YouTube.
Step-by-Step Instructions
The following steps will help you get started with Anno-REP quickly. Please see additional instructions if you are planning to collaborate with another researcher on your ATI project in Anno-REP.
Logging in to Anno-REP
These steps are only necessary for you to carry out once on any particular computer, as long as you don’t log out. Anno-REP will remember your login status unless you actively log out of the tool.
- Create accounts for hypothes.is and QDR and log in to both accounts.
- Go to https://anno-rep.org and click on “Login to create a new ATI project.”
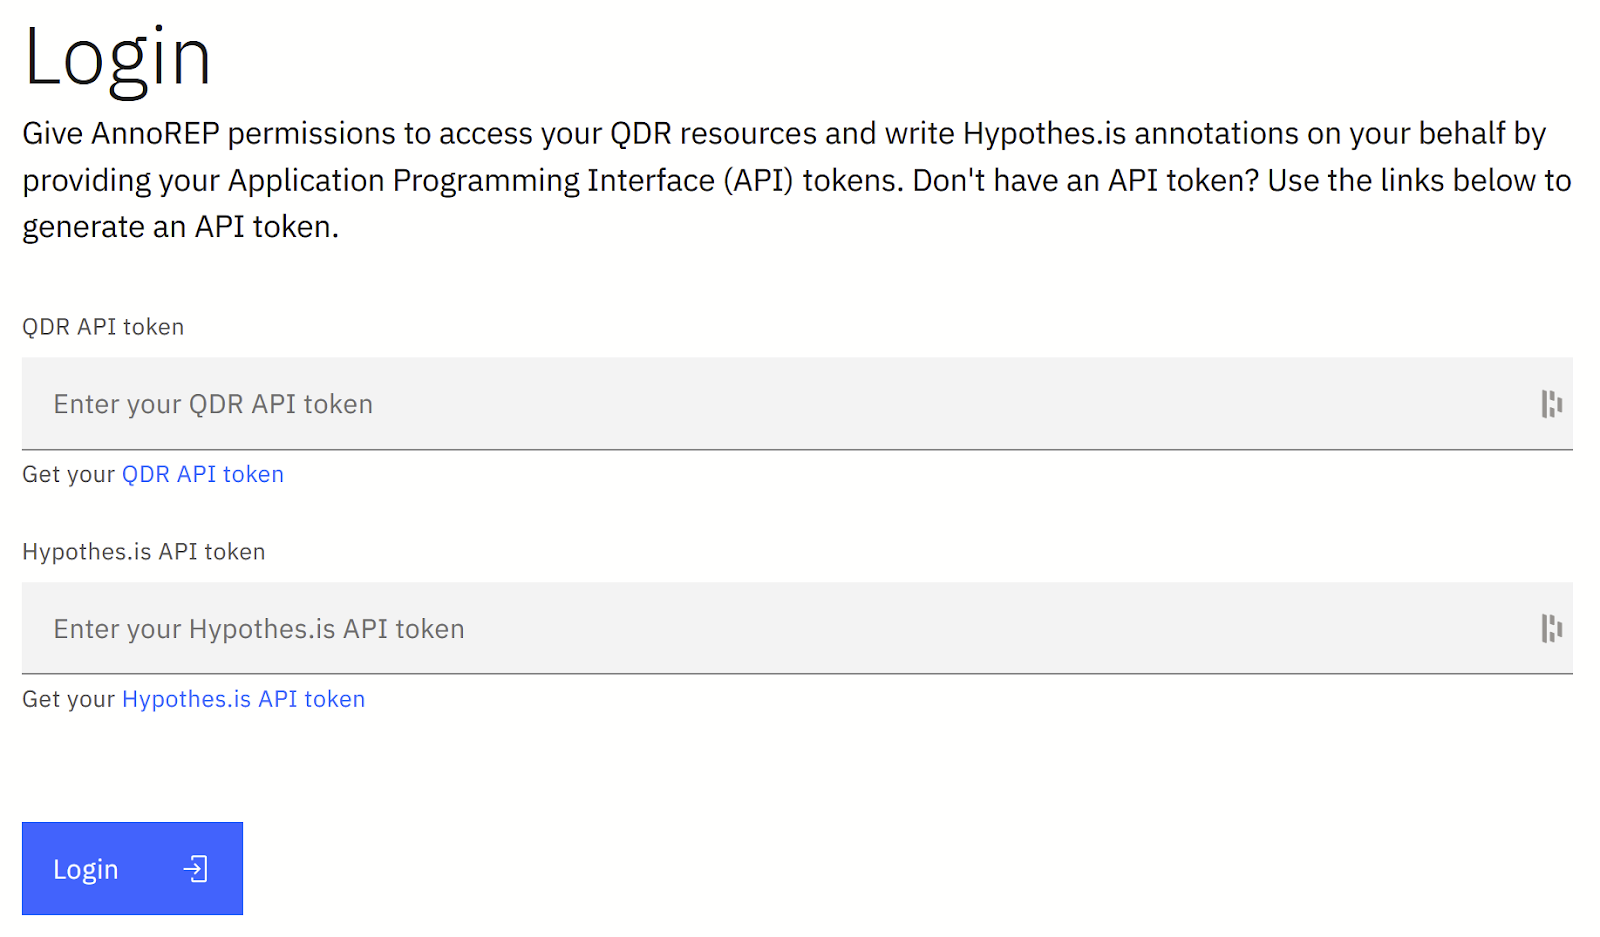
- Find your “API token” for QDR here and for Hypothes.is here and paste them into the respective fields of the log-in dialog, and then press the “Login” button. You are now logged in.
- If you experience difficulties with the login process, click here to view a more detailed explanation.
Creating your ATI Project
- If you have already created any ATI projects, you will see them on this screen. Otherwise, click on “New ATI Project” at the top of the screen.
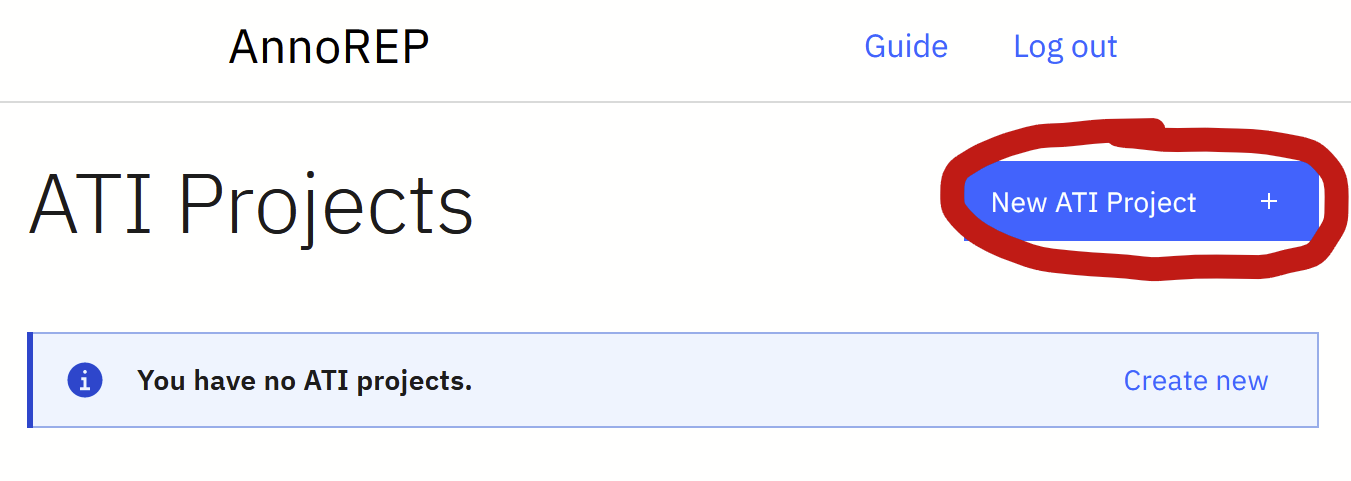
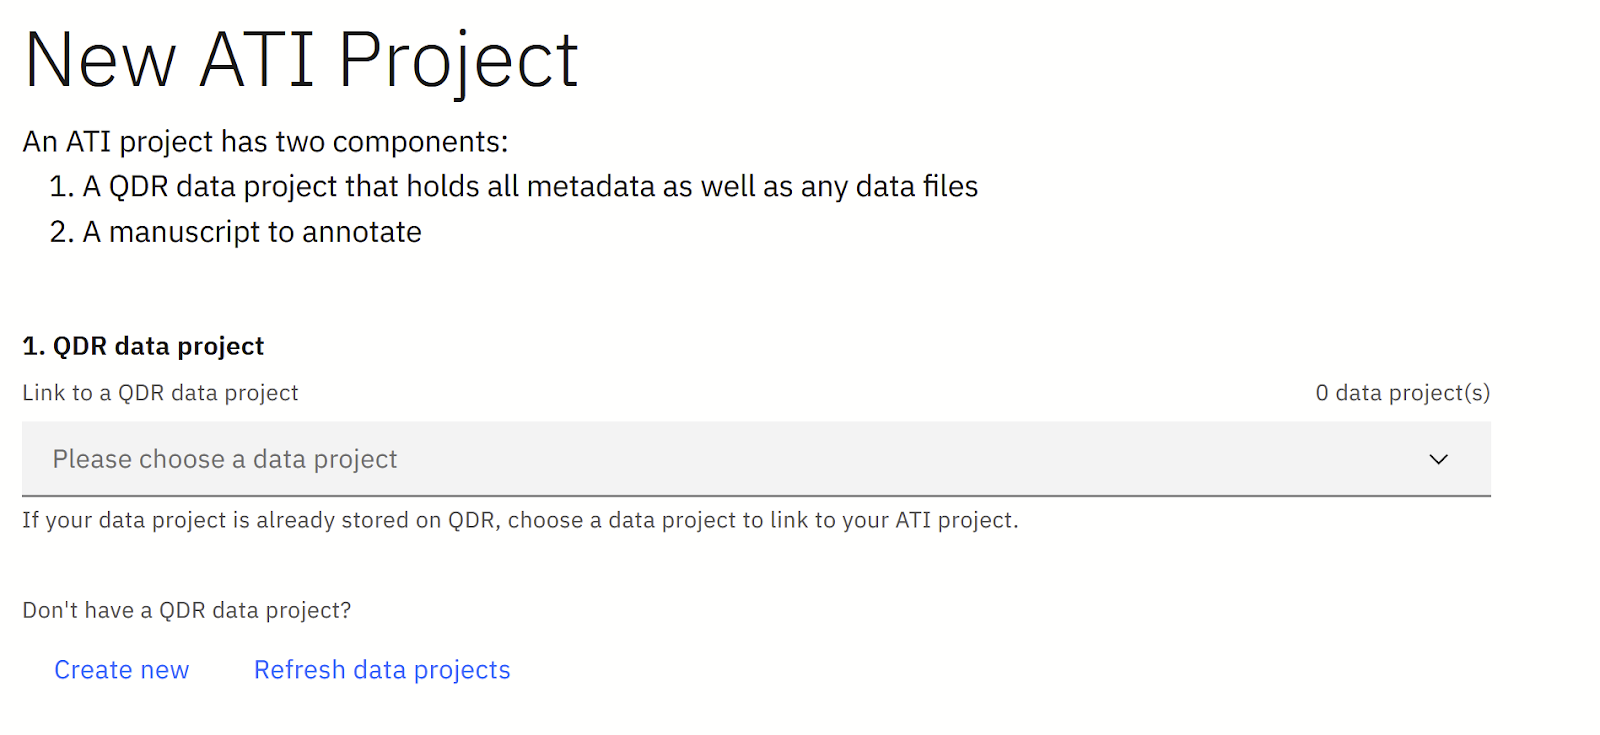
- Each ATI Project consists of a QDR data project and a manuscript. Click on the “Create New” link to create a new QDR data project.
- The QDR data project will open in a new screen. Fill out at least the required information, and don’t worry about any fields you don’t understand or are unable to fill out. You can upload any data files at this time. You will be able to edit the data project and add or modify files at any time until the project is published on QDR.
- Click on “Save Data Project” at the bottom of the screen to save the project.
- You’ll get a message that says “Success! – This data project has been created. If it's ready for sharing, please submit it for review.” Do not submit the project for review just yet – you'll do this after you finalize all of your annotations.
- Go back to the Anno-REP tab in your browser and click the “Refresh data projects” link. You should now be able to select your newly-created data project. Select this new project.
- Under “2. Manuscript:”, click the “Add file” button to upload your manuscript as a PDF or Word (.docx) file. Remember that Anno-REP will extract any Word comments and PDF annotations, so if you have already made any annotations following the ATI Instructions, make sure that the file you upload includes those annotations.
Note for those uploading a .docx file: if you use Word’s “embed font” option as described here, Anno-REP will be able to better preserve the layout of your document.- Click on “Create project” at the bottom of the screen and wait for Anno-REP to process your files.
- You will now see your manuscript with all extracted annotations. You may need to click the “Sign up/Log in” button for Hypothes.is on the top right again for annotations to appear even if you are already logged into Hypothes.is.

Working with Annotations
- You can edit any existing annotation by clicking the pencil icon
 , delete them with the trash icon
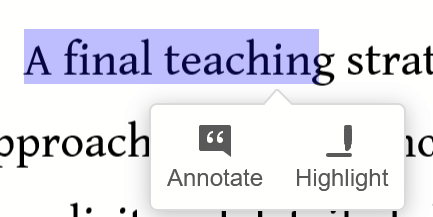
 , and add new annotations by selecting text and clicking on the annotate icon:
- Note: ATI uses “Annotations.” For ATI purposes, please ignore the “Page Notes” option.

- We recommend you use “Post to only me” instead of “Public” when creating annotations. They will still show to you as “Public” when you publish them, but have the black lock icon next to them to show they’re only visible to you within the Hypothes.is tool.
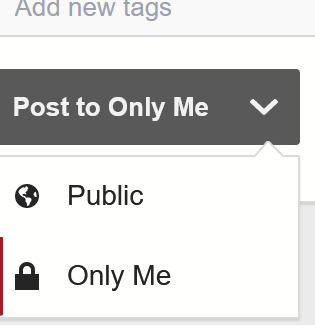
- Note: ATI uses “Annotations.” For ATI purposes, please ignore the “Page Notes” option.
- You can see any files already uploaded by clicking the “Add data sources” button at the top of the manuscript.
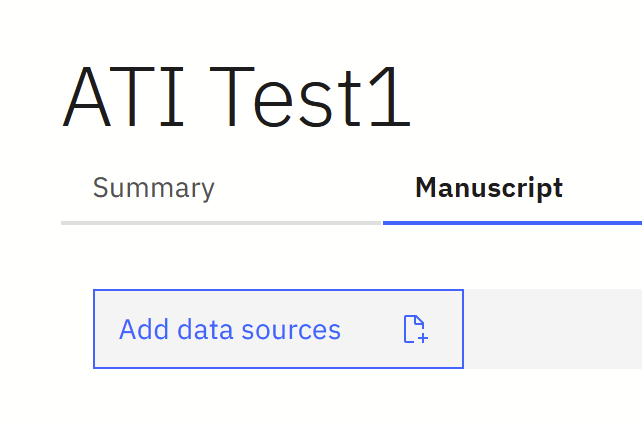
- If you want to upload data sources, click on “Add/remove associated data sources” in the panel that opens on the left. This will take you to the associated QDR data project, where you can add files and re-save the project.
- Once you’ve uploaded all files you want to and saved the QDR data project, click on the “refresh” icon in the Data Sources sidebar of Anno-REP.

- Once you’ve uploaded all files you want to and saved the QDR data project, click on the “refresh” icon in the Data Sources sidebar of Anno-REP.
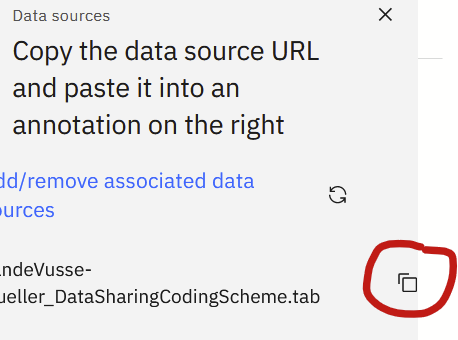
- To add a data source to an annotation, click the copy icon next to the source title in the Data Sources sidebar, then paste the link into the annotation. Do not use any of the menu items of the annotation tool to insert the link.
Submitting or Copying Annotations
- In most cases, QDR will publish your ATI project together with the associated data project. Once you have finalized your annotations, click on “Submit for Review” in the Summary tab of Anno-REP. A QDR curator will get in touch with you shortly.

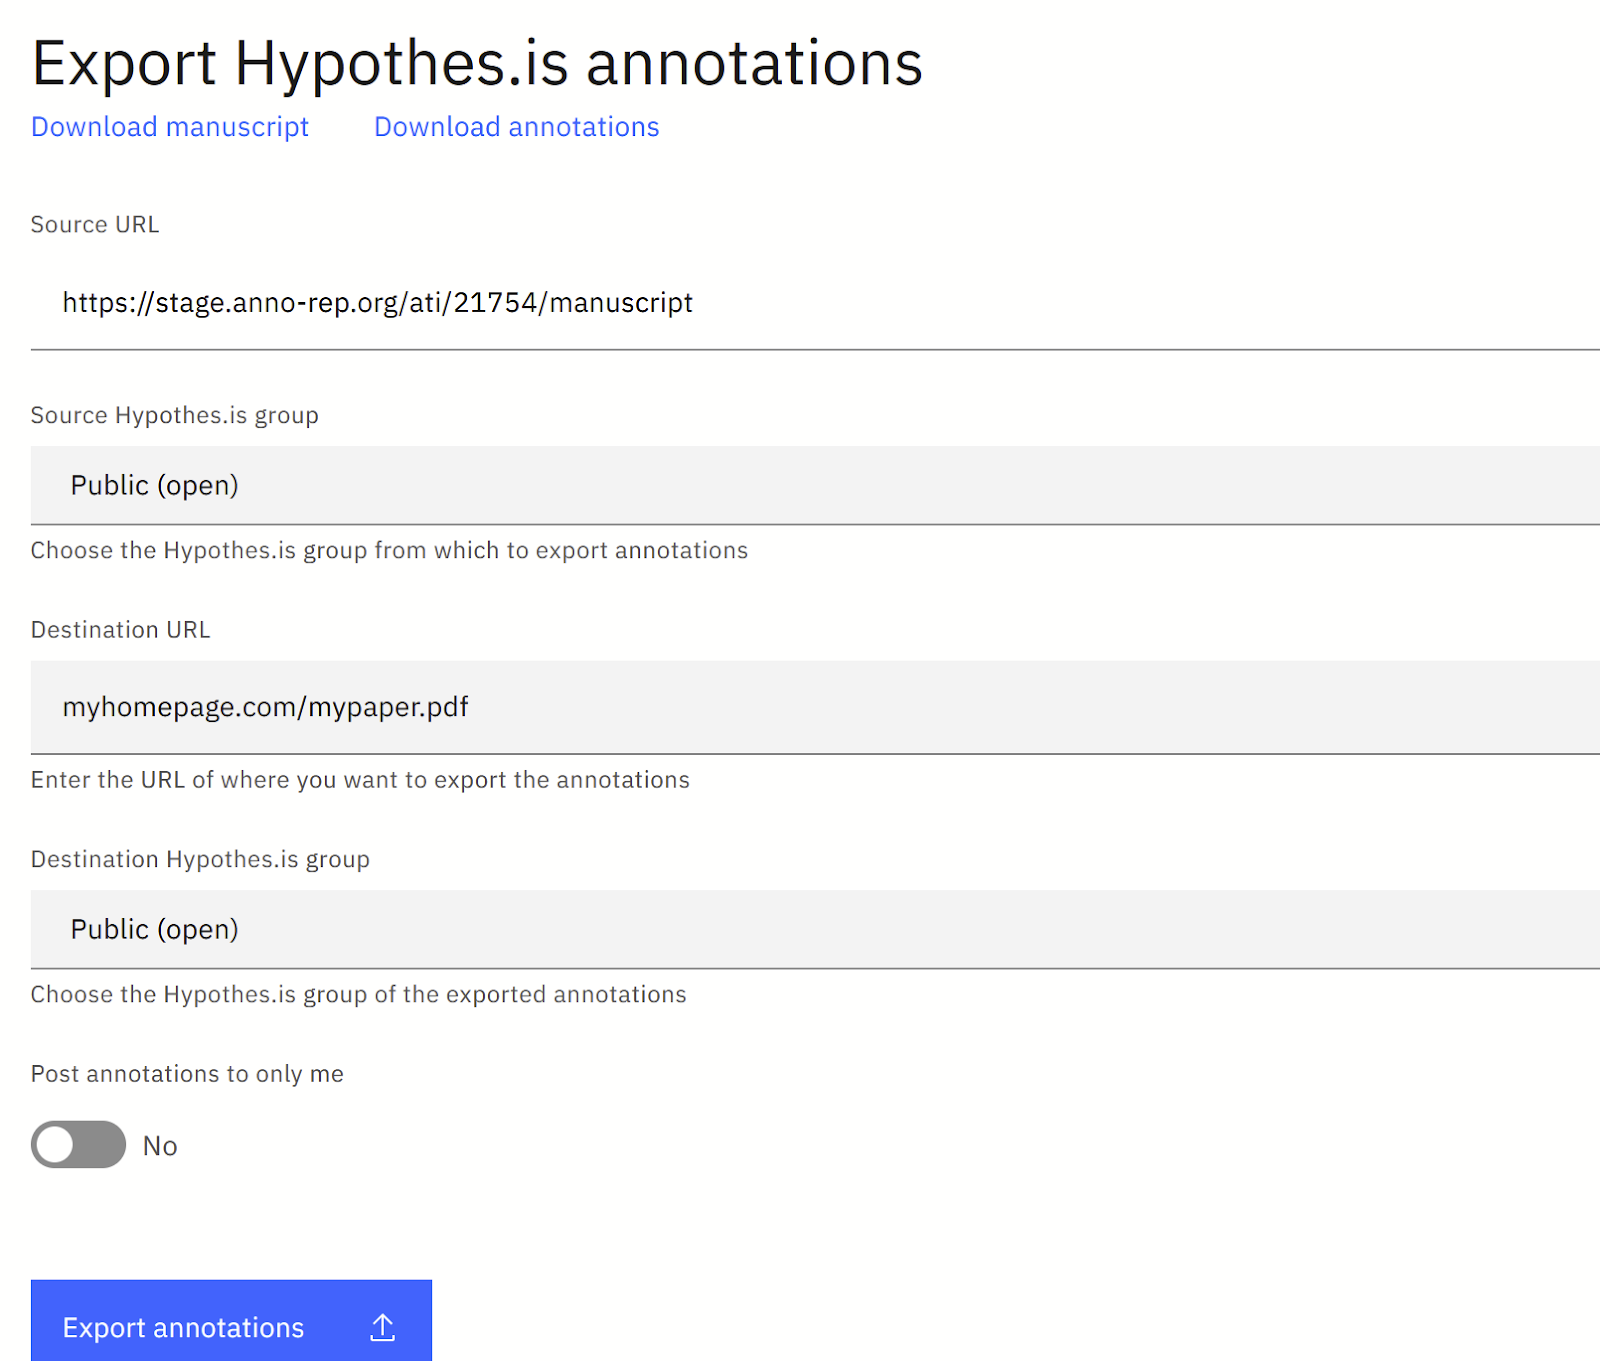
- You can also copy your annotations to a copy of your document anywhere on the web. In the Export tab of Anno-REP, add the URL of the target copy of the paper and click “Export Annotations.”
Updating your manuscript
- To update your manuscript after making edits to the text, first delete the current version of the manuscript with the “Delete Manuscript” button at the top right of the manuscript tab. This deletes only the manuscript file: all your annotations will still be there when you upload an updated manuscript.

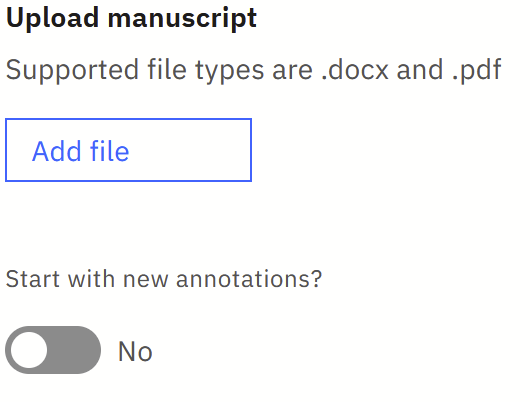
- Upload the updated manuscript on the following screen. You have two options for your annotations:
- You can keep the annotations you have edited and added in Anno-REP. Keep the “Start with new annotations” button set to “No” for this.
- Annotations that can no longer be matched to text (e.g., because you deleted or significantly changed the annotated text) will appear in a separate “Orphaned” tab of the annotation bar on the right.
- You can restart with just the annotations extracted from the uploaded manuscript file. For this option, set the “Start with new annotations” option to “Yes” before clicking “upload manuscript.”
- You can keep the annotations you have edited and added in Anno-REP. Keep the “Start with new annotations” button set to “No” for this.